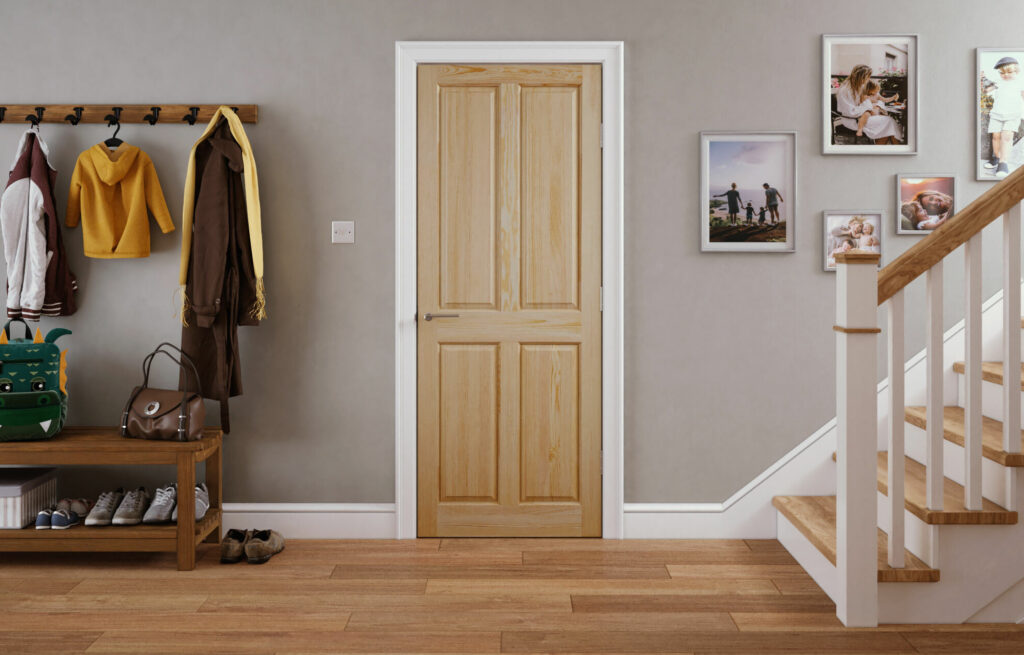
From dogs pawing and cats scratching to children doodling - and everything else in between. Your internal door is going to come up against some significant wear and tear over the course of its lifetime. If you already own a wooden door - or you’ve recently purchased one of our beautiful real wood oak veneered, pine or walnut internal doors at Door Giant - you’ll want to keep the stunningly detailed finish looking its best for now and in many years to come.
We offer a wide range of beautiful quality internal doors, many of which have been constructed with real wood veneers or solid oak to suit your individual project requirements, budget and style of property. Our unfinished doors also give you the option to paint, stain and varnish your door according to your very own preferences before fitting.
After the initial oiling or varnishing of your new or existing internal door, we recommend reapplying these treatments every few years to keep your door looking immaculate and rich in colour while also ensuring it remains as hardwearing and protected as possible from everyday knocks, nicks and scrapes. Regularly re-treating your door will also rejuvenate and accentuate the wood grain detail of your door, fending off signs of dullness so you can enjoy the rich textures and tones of your wooden door, all-year round.
In our latest blog, Door Giant will take you through everything you need to know about treating your wooden door, from tools and techniques to useful tips on caring for your door between treatments.
What Do I Need To Treat My Internal Door?
You may want to consider purchasing dust sheets and masking tape to protect floors, furniture and your surrounding working area before you begin treating your door. Any door oiling should take place in a large or well-ventilated workspace. Once preparation is complete, here are the essentials you need to treat your internal door:
Before you begin treating your door, make sure that you remove all door furniture, hardware and hinges. You can then clean or sand your door with a fine-grit sandpaper to prepare it for treating with a suitable door oil.
How Do I Treat My Wooden Door?
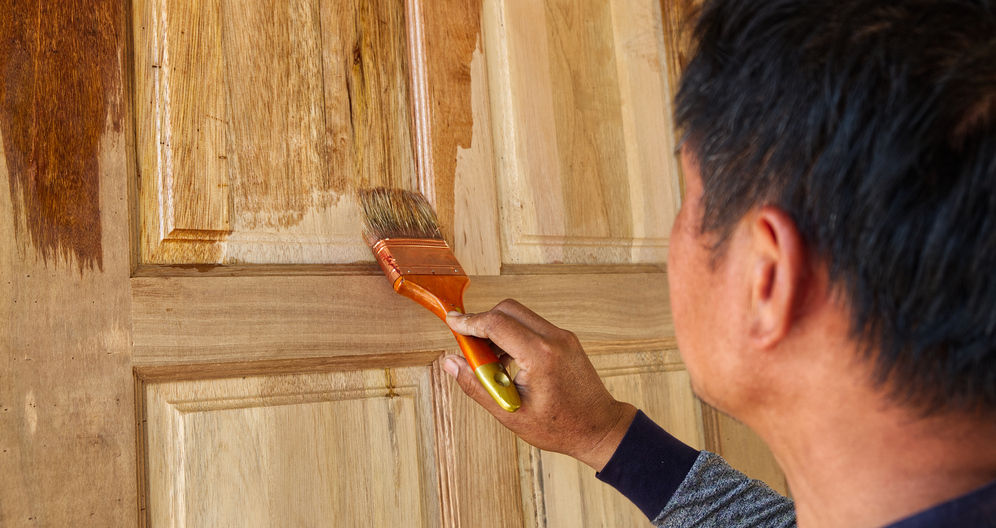
Use your door oil according to the manufacturer instructions - this will involve thoroughly stirring the oil and then pouring it into a paint tray for easy application. Before your brush touches the surface of your door, check the door is dry and completely clean of dust, debris or sandpaper shavings.
Brush a thin layer of oil onto the entire surface of your door, working with the grain of the wood veneer to achieve the very best results possible. Once oiled, grab your microfibre cloth and finishing pad to clean away any excess oil in the same direction as the grain. After your door has been oiled and the excess has been removed, dunk your paint brush in white spirit and leave your door to dry for as long as is advised in the door oil instructions. Once one side of your door has dried, you can flip it over and oil the other side of the door in the exact same way. After the final side has dried, the door is now ready to re-hang.
How Do I Care For My Door Once Treated?
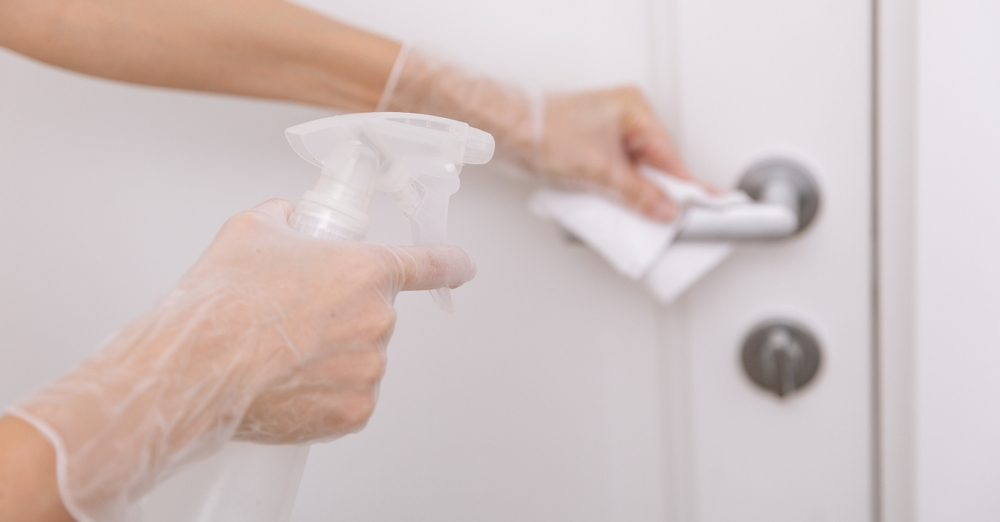
If you want to look after your door between treatments, use a household duster and a mircofibre cloth to remove any buildup of dirt and debris that will naturally tend to accumulate on your door. For a more thorough clean, apply warm water and a mild washing-up soap to your door. If you notice that there’s a small scratch or an area that has become visibly damaged, you can touch-up your door with a little oil. If you come across a dent, a deep impact or scratch, lightly sandpaper the area so your oil will blend nicely and then apply a thin layer of oil for the best results.